


How to Attach Thin Skin Hair System
Posted On February 12, 2021 18:52:35
by Toupeec
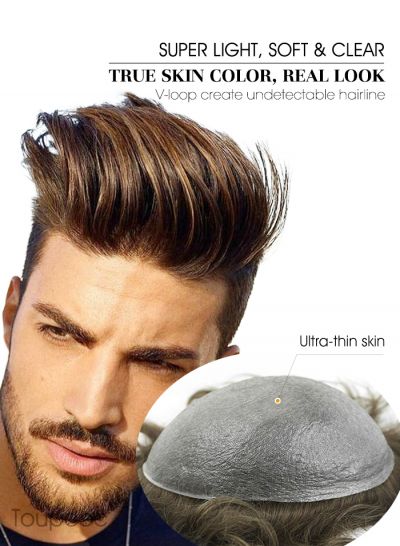
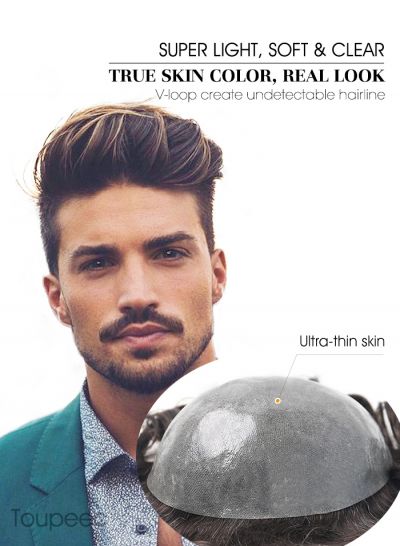
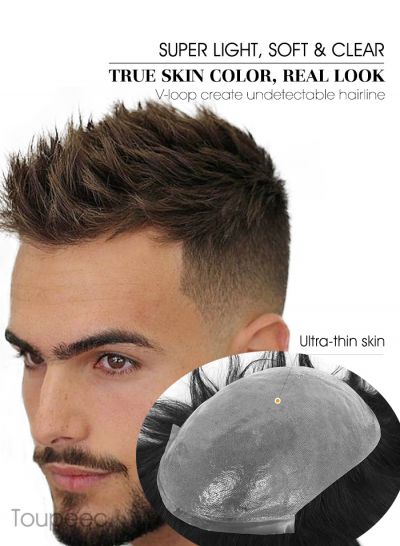
The thin hair replacement system is known for its natural appearance and ease of operation. Therefore, more and more customers want to adapt to them at home. Next, we will provide you with some instructions and tips for installing the full thin skin hair replacement system.
Frist: prepare the new hair system
Cut the base to your size.
Cut off excess skin along the thinnest hairline.
Wet your hair before cutting off excess skin, so you have better control over not cutting your hair. If you cut your hair, there will be a small video hanging in front of the hairline, which will make it look unnatural.
Second: Prepare your scalp ready
Remove the old system: spray makeup remover on the edge of the old system. Start moving away from the back to ease the pain of the operation.
Wipe the residual adhesive on the head with a wet towel or cloth. Use a degumming agent if necessary.
Wash your hair at least twice to clean thoroughly.
Dry the scalp thoroughly and use a hair dryer if possible to remove excess moisture.
Remove any hair or stubble from the bonding area.
Thoroughly clean the bonding area with alcohol cleaner and cotton thread.
Use an eyebrow pencil to mark points on the scalp along the edge of the system. Make sure the hairline is four fingers above the eyebrows.
It is recommended that a layer of scalp protector be applied to the skin to help protect the skin and promote adhesion to the adhesive.
Tri: apply adhesive
Brush a very thin and uniform layer of adhesive on the scalp to the spot, but do not cover the spot.
If necessary, allow the adhesive to dry before brushing the second layer. We strongly recommend that you apply no more than three layers. It is recommended to use a hair dryer to speed up the drying time of each coat. Remember to use it in a low heat setting.
Wipe the dots on your head carefully.
Fourth: attach a new hair system
Make sure the adhesive is completely dry before applying the new hair system.
Gently position the system on the adhesive from the front hairline. Make sure you hold the hair so it doesn't touch the glue.
When applying, lengthen it a little to make sure there are no bubbles.
After placing the hair replacement system, press it firmly on the scalp with the flat edge of the comb for 1 minute.
Please keep the system dry and sweat free within 24 hours after installation.
Delete prompt:
Spray the remover around and wait a few minutes for the adhesive to release.
Gently lift the base away from the scalp. To avoid damaging the front hair line, we always recommend that you remove the hair system from the back to the front.
Wash your hair.
More To Love